
Round Panel Background Tutorial
марта 07, 2019
Hello Lindy's lovers! Today I want to share with you the process of creating a background for the round panel I am working on. I wanted to play with yellow and blue, but I didn't want them to mix, otherwise I would get green! So here are a few of my secrets for keeping colors clean and bright, as well as adding interesting texture.
 First, I mixed two yellow shades of magical powders (Yellow Rose of Texas and Glory of the Seas Gold) and a 3D gel.
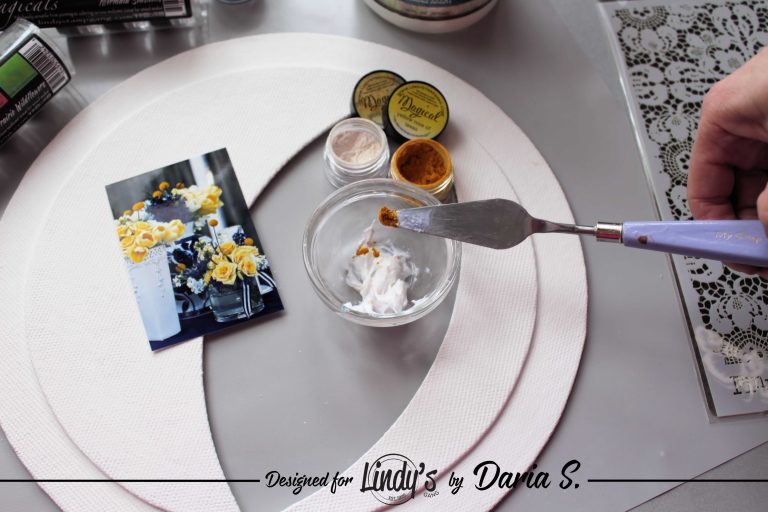 The result is this pretty sunny yellow paste that perfectly matches the color in my photo.

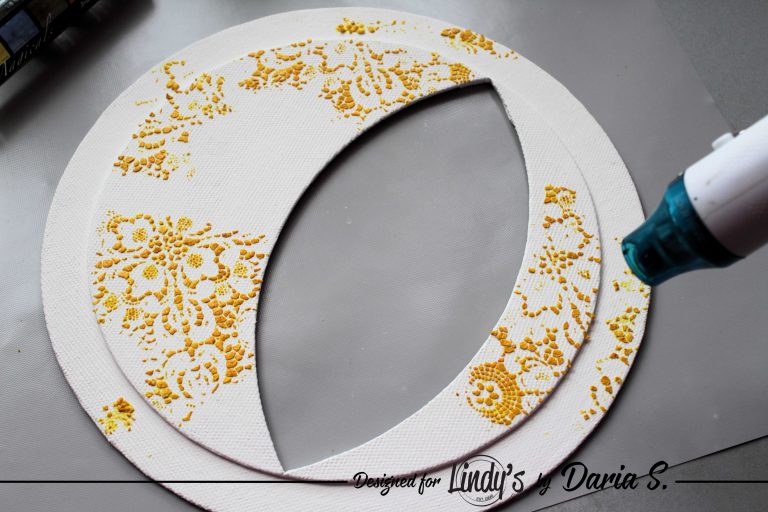
I put the paste through a stencil in the places where I want. And completely dried with a hot air gun.
I randomly applied prints with stamps and embossing inks, and poured on Bavarian blue embossing powder.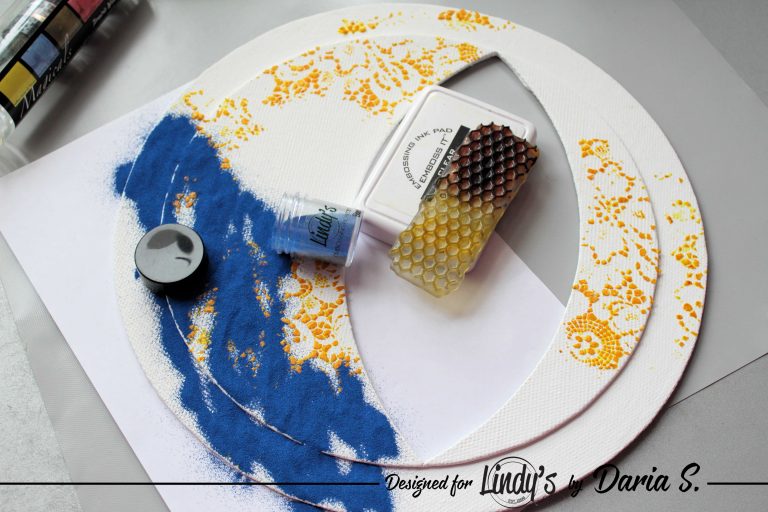 And then heat the powder, and I have bright yellow and blue with no color mixing!
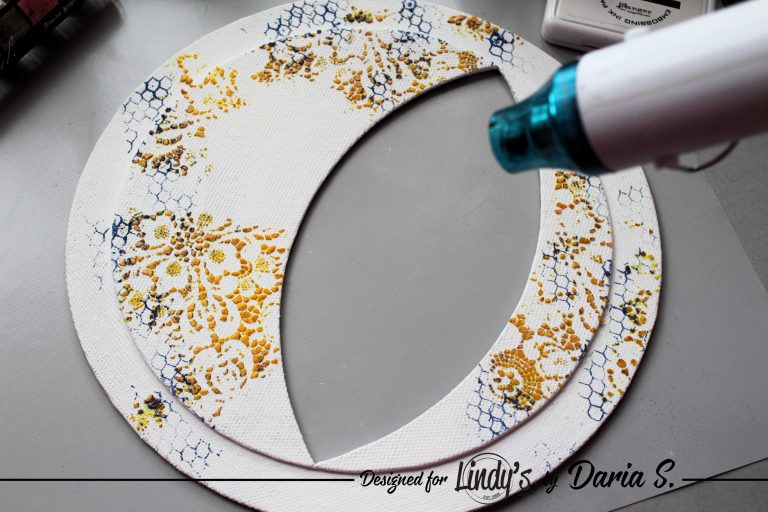
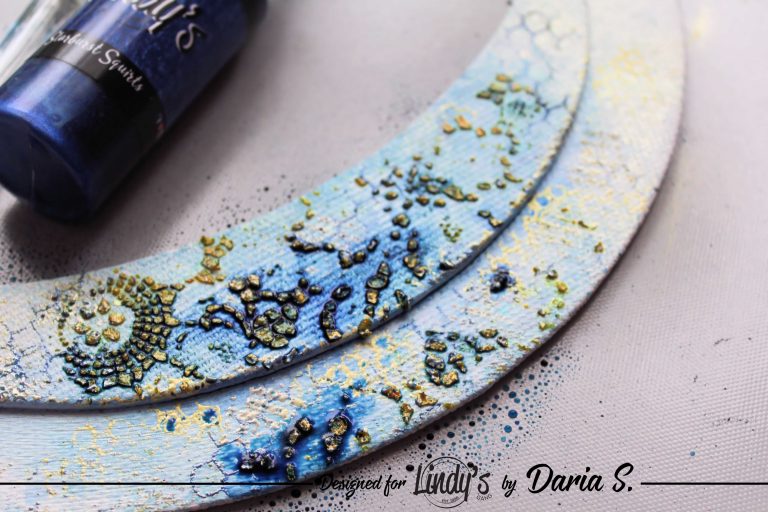
I did the same with another powder color Queen Sheba's Silver.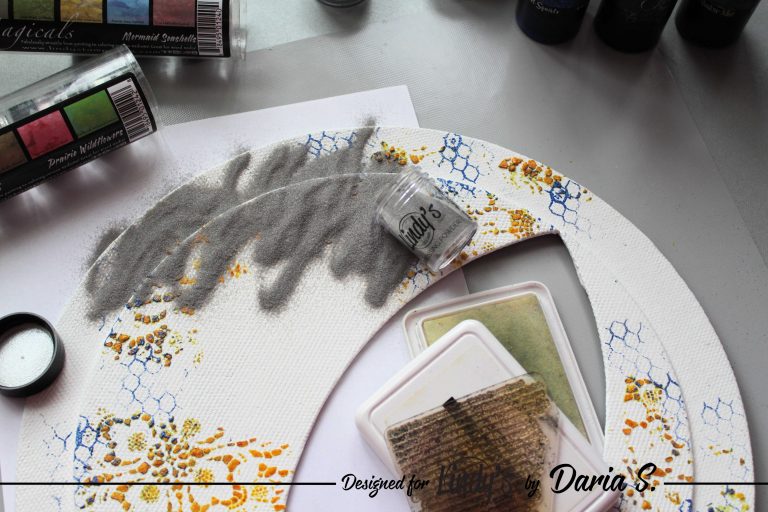
 And then I added color Sunset Yellow Orange.

 Next, moisten the surface with plenty of water and start working with sprays. The first color is a flat spray Danny Zuko's Denim.
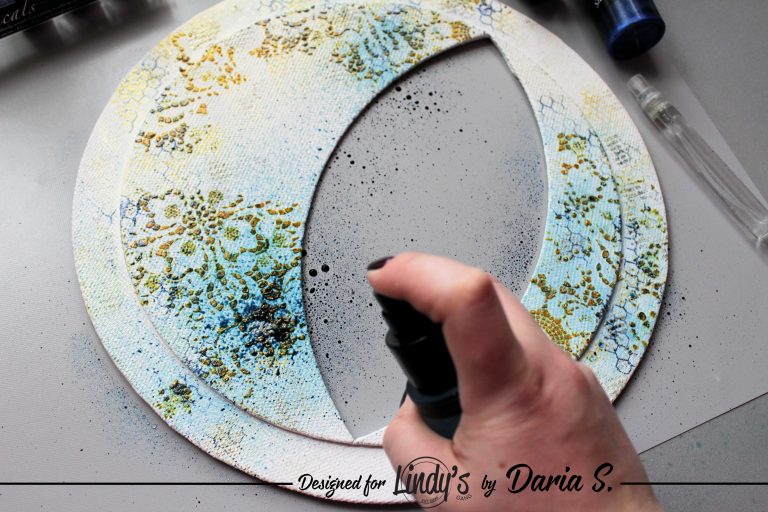 Then add Afternoon Delight Denim Shimmer Spray.
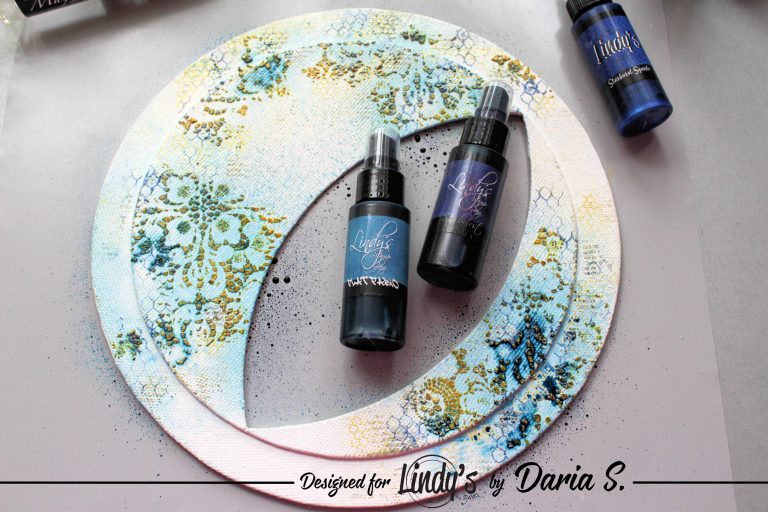
 And a little Squirts Banff Blue.
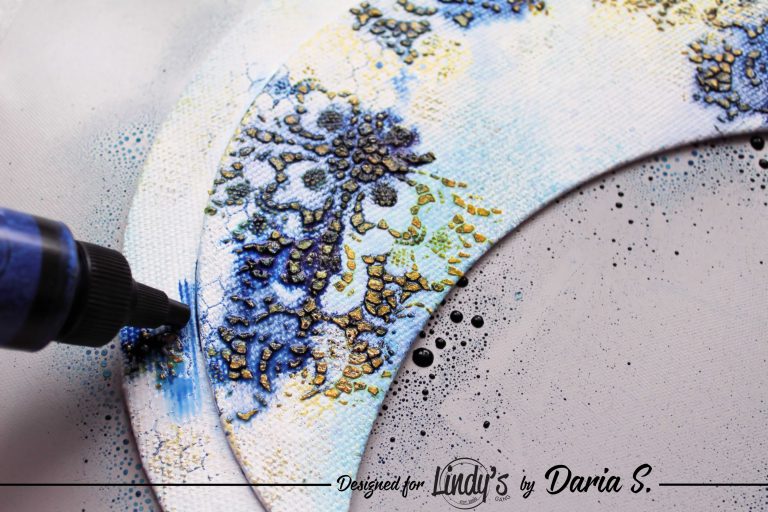


I add a few prints with waterproof ink and a texture stamp.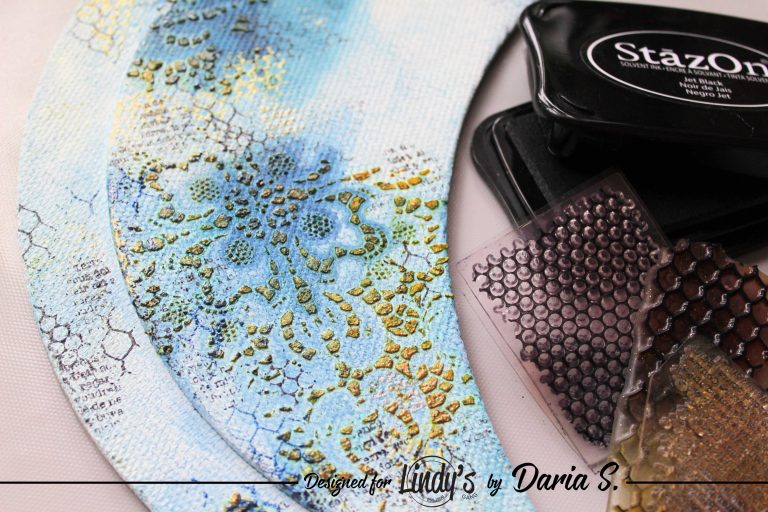 In the last step, I added a splash of white gesso. And the background is ready!
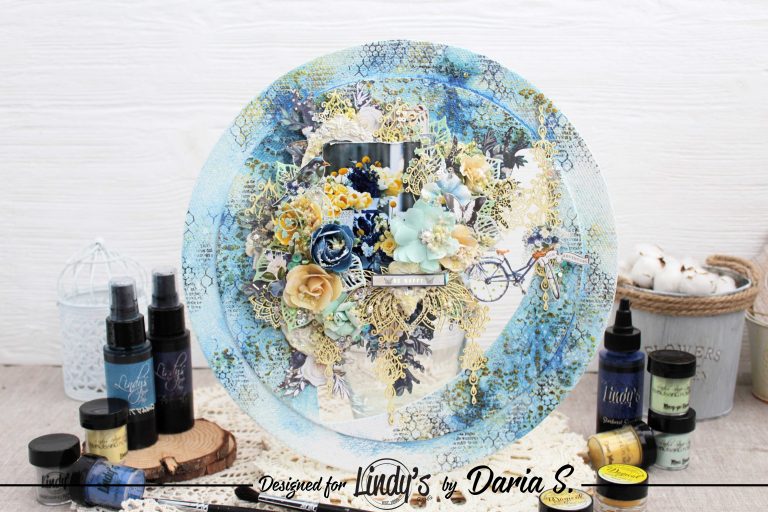
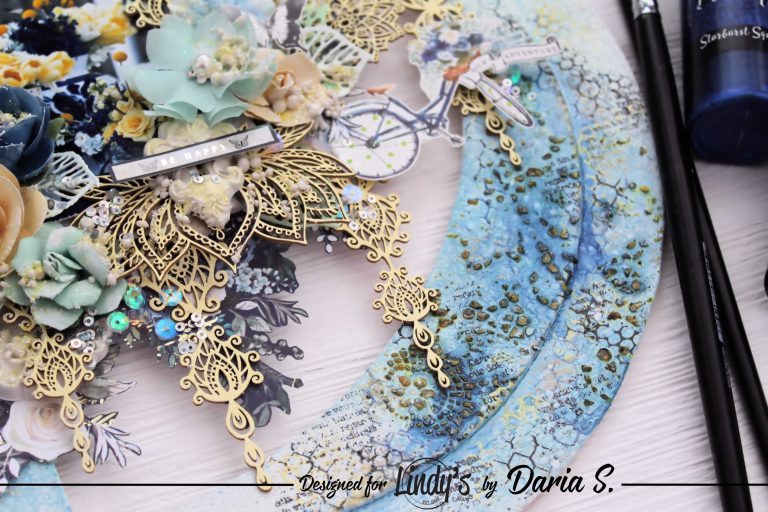
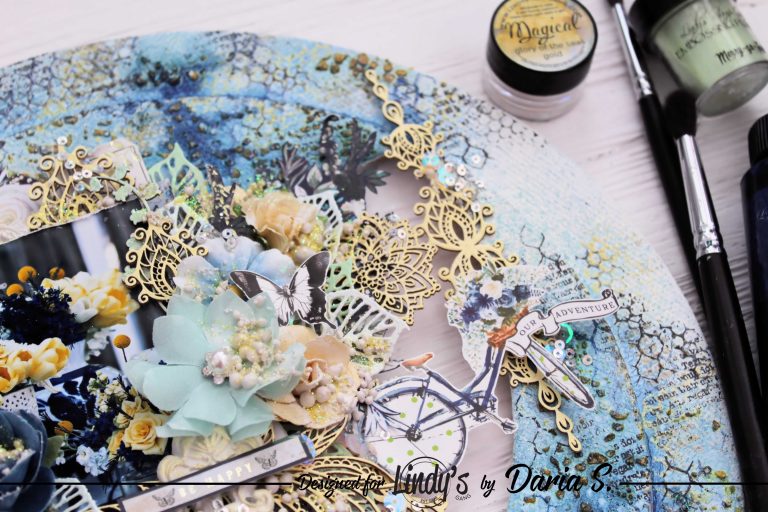
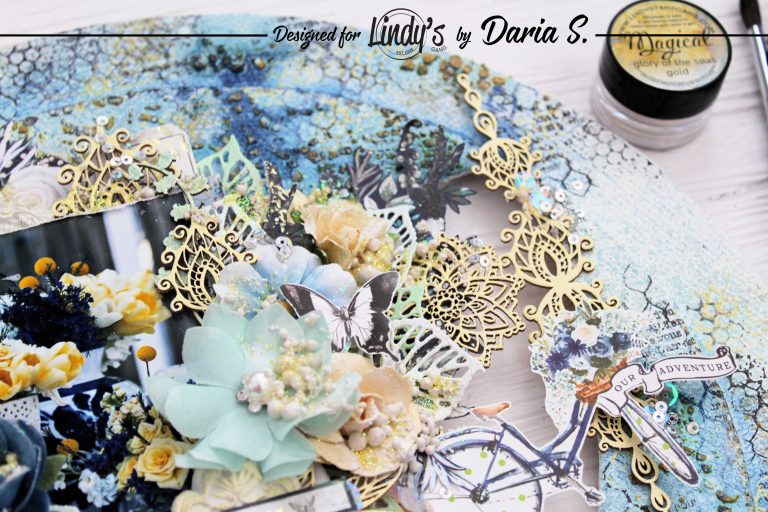
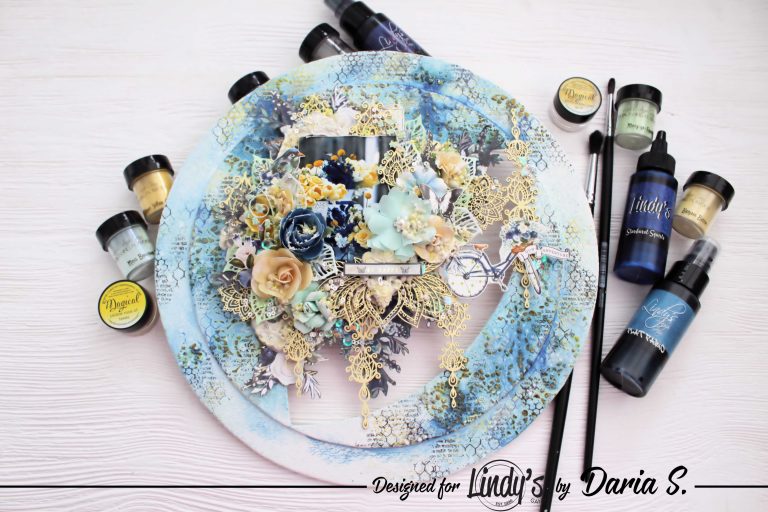
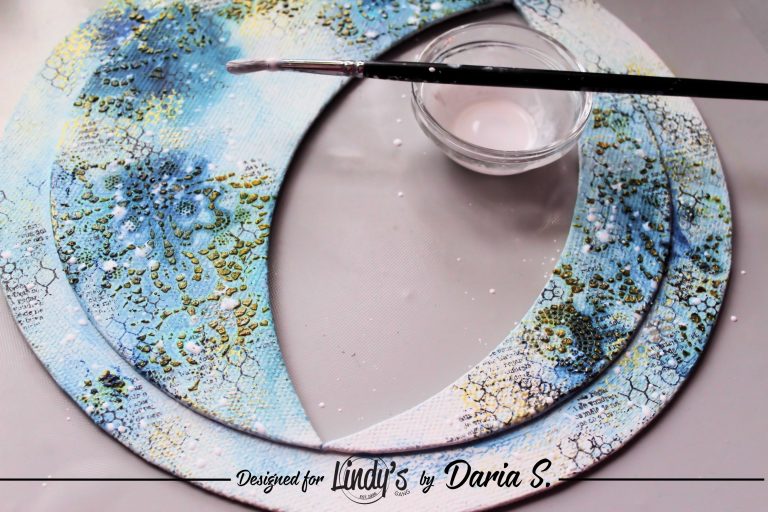 Then I pasted down my photo and embellishments and created this round flower panel.
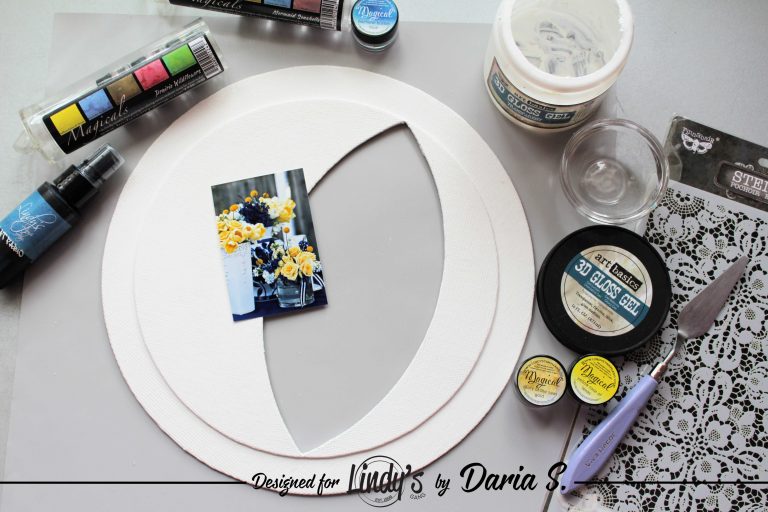
Get those supplies ready!


 First, I mixed two yellow shades of magical powders (Yellow Rose of Texas and Glory of the Seas Gold) and a 3D gel.
The result is this pretty sunny yellow paste that perfectly matches the color in my photo.
First, I mixed two yellow shades of magical powders (Yellow Rose of Texas and Glory of the Seas Gold) and a 3D gel.
The result is this pretty sunny yellow paste that perfectly matches the color in my photo.
I put the paste through a stencil in the places where I want.
And completely dried with a hot air gun.
I randomly applied prints with stamps and embossing inks, and poured on Bavarian blue embossing powder.
And then heat the powder, and I have bright yellow and blue with no color mixing!I did the same with another powder color Queen Sheba's Silver.
 And then I added color Sunset Yellow Orange.
 Next, moisten the surface with plenty of water and start working with sprays. The first color is a flat spray Danny Zuko's Denim.
Then add Afternoon Delight Denim Shimmer Spray.
And a little Squirts Banff Blue.
Next, moisten the surface with plenty of water and start working with sprays. The first color is a flat spray Danny Zuko's Denim.
Then add Afternoon Delight Denim Shimmer Spray.
And a little Squirts Banff Blue.


I add a few prints with waterproof ink and a texture stamp.
In the last step, I added a splash of white gesso. And the background is ready!
Then I pasted down my photo and embellishments and created this round flower panel.Get those supplies ready!


Lindy’s Products:
- Starburst: Afternoon Delight Denim Shimmer Spray
- Flat Fabio: Danny Zuko's Denim Flat Spray
- Magicals: Glory of the Seas Gold and Yellow Rose of Texas
- Squirt: Banff Blue
- EPs: Bonjour Butter, Merry-Go-Round Green, Merci Beaucoup Mint, Sunset Yellow Orange, Bavarian Blue, Queen Sheba's Silver.
- Finnabair Heavy Gesso white, 3D Gloss Gel, chipboard Scrapiniec, other stamps, flower, and paper Prima Marketing.


0 коммент.